If you own a Windows 10 Computer, it is good to create a bootable USB drive of your OS (operating system). In this way, you can install or reinstall Windows 10 to repair a computer that will not turn on or connect to the internet. Here is how to create a Windows 10 bootable USB Flash Drive.
Before you start the process, make sure you have got the following:
- A reliable or secure internet connection
- A USB drive with at least 8 GB of free space
- Your 25-character product key (you do not need this for digital purchases).
How to Create Windows 10 Bootable USB Using Media Creation Tool:
To create a Windows 10 bootable USB, firstly download the Media Creation Tool. Then run the tool & select Create installation for another PC. Finally, choose the USB flash drive and wait for the installer to finish.
1. Connect a USB to your Windows 10 PC. You probably need to format your USB drive to exFAT. And if you want to know how to format a hard drive for Windows 10, check Guide here.
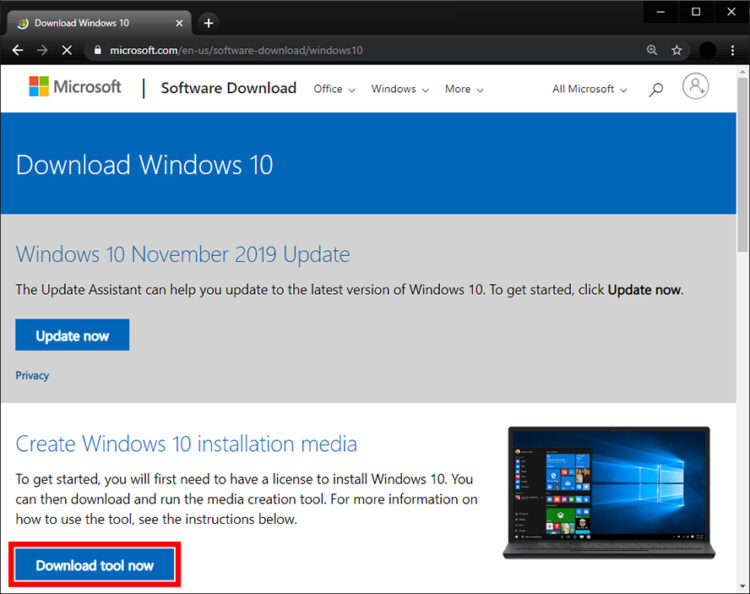
2. Afterward, go to Microsoft’s website to download the Windows 10 Media Creation Tool. Tap on the Download tool now button, which you will see under Create Windows 10 installation media.
3. Double-click the file called MediaCreationToolxxxx.exe file to launch it. And this file should be in your Downloads folder or wherever you set downloads to go. The last four digits of the file name indicate the version of Windows 10.
4. Then click Accept in the pop-up window.
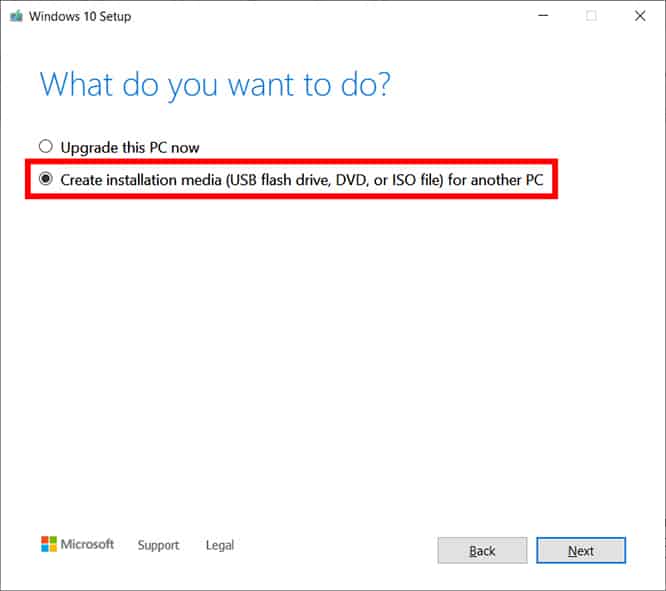
5. Select the Create installation media option and tap Next.
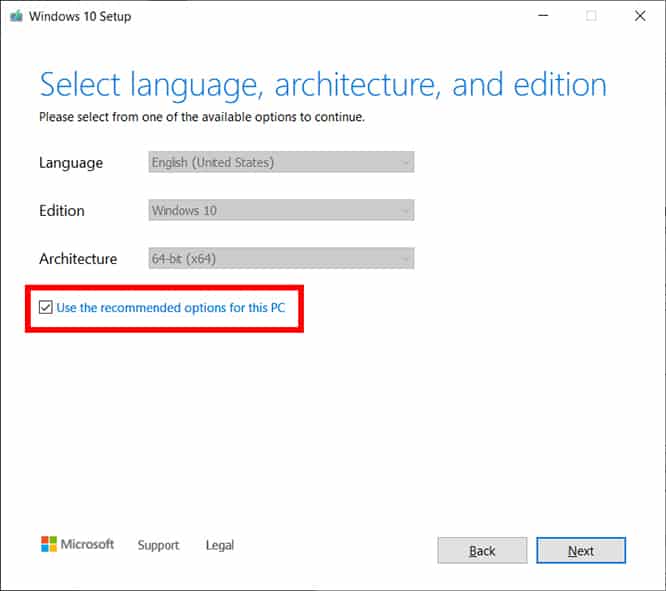
6. Select the language, architecture, & edition that you want to use to create the bootable USB. You can even check the Use the recommended options for this PC box to use the same language, edition, & architecture you’re using now. You can also use the drop-down options to change the options. If you’re unsure whether you need a 64-bit or a 32-bit architecture, select both the Architecture drop-down menu.
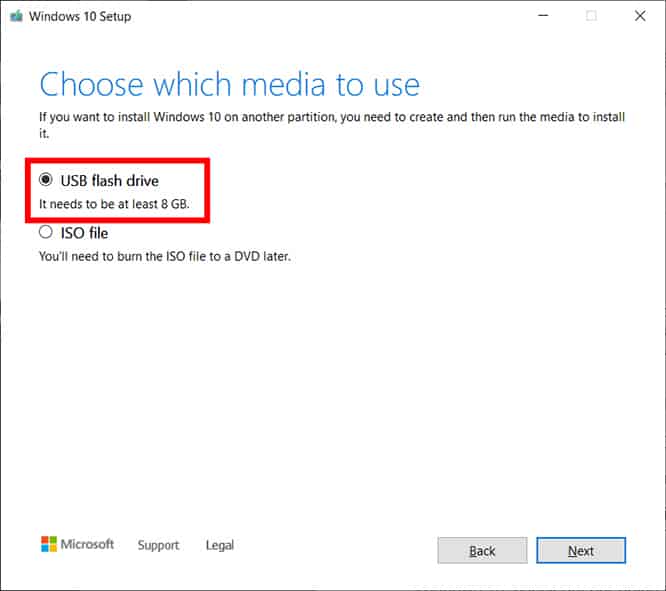
7. Next, choose the USB flash drive and click Next.
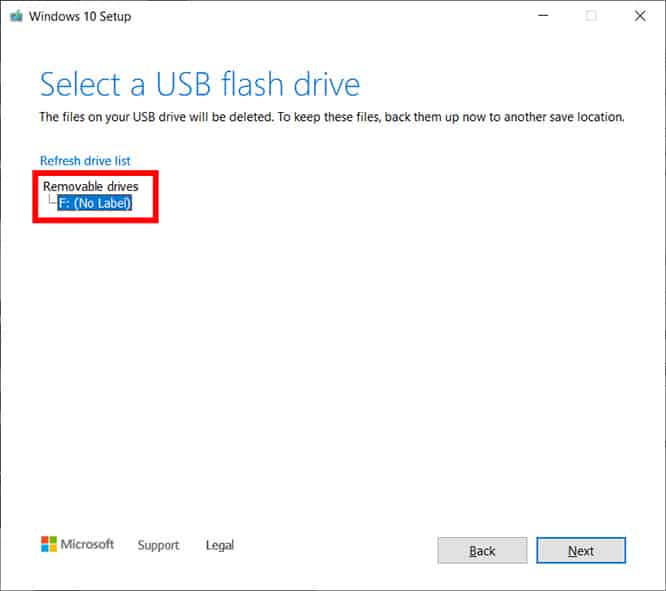
8. Select the removable drive you want to use & tap Next. If you’ve more than one device connected to your PC and you are unsure which one to use, disconnect the other drives. If you do not see the drive you want to use, tap the Refresh drive list.
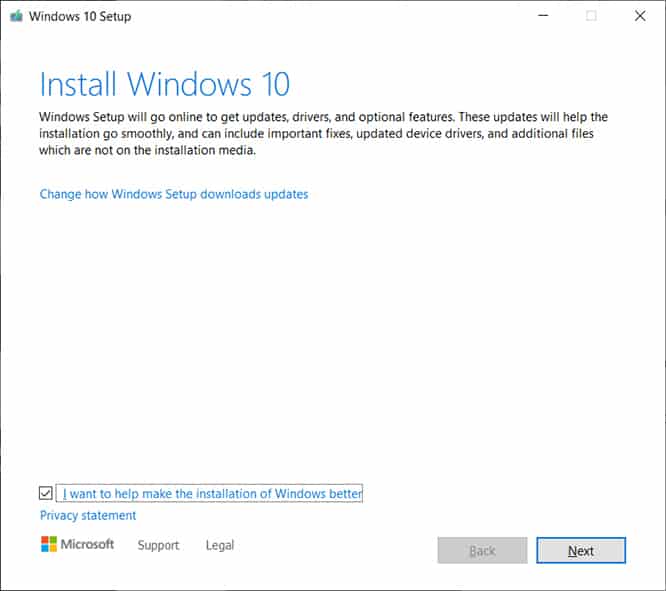
The Media Creation Tool will then begin to download the latest Windows 10 installation files on your PC. This process can take around 30 minutes.
9. Finally, click and Finish it.
If you want to confirm that you created a bootable USB drive with the Windows 10 installer on it, go to File Explorer and check your drives in This PC. Your drive should be renamed something, such as USB-ESD (Electronic Software Delivery). And when you open the drive, you should see boot files & a setup.exe file.

Now, if you require to install or reinstall Windows, you can connect the drive to your PC and reboot it. Your computer should then give you the option to install Windows. If not, double-click the setup.exe in the drive to begin the installation process.
Note: Before you install Windows 10, check to confirm your computer or laptop meets the system requirements for Windows 10.
Conclusion
I hope the method above explained is enough to Create Windows 10 Bootable USB Flash Drive or Recovery USB drive. If you have any question, suggestions or if you use any different tool, please let me know through the comments.


when I get to step 6 and complete it and go onto step 7, there is no step 7 and my computer just tells me that there isn’t enough storage for the installation but I wanting to put the install on my usb not my main hard drive?
Austin, first Make sure your have Enough Free Space to store data in your USB.:|